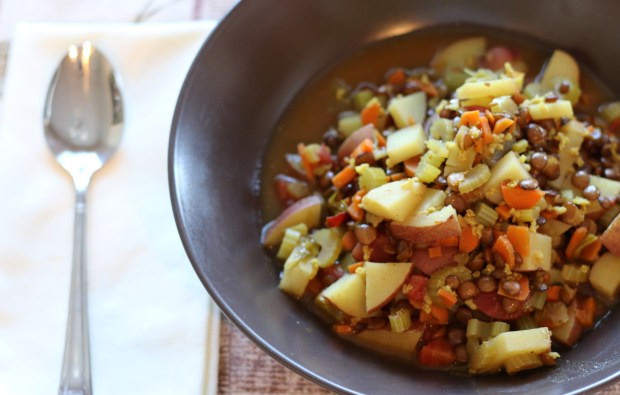
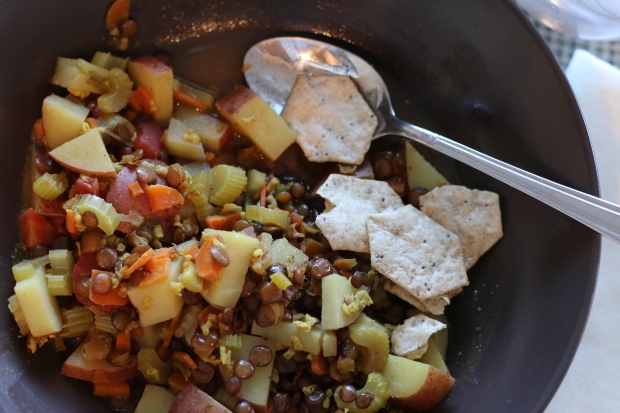
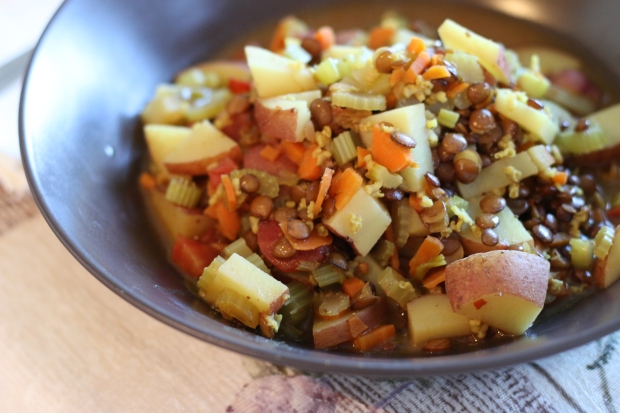
Curried Vegetable Soup (spicy)


Hearty and warm, this soup will sustain you through a cold, wintry day.  It has 22 ingredients (give or take) and a host of options if you do not favor one of the vegetables.  Reduce the amount of the peppers if you need to tone down the spice level of this delicious soup.  I have greatly modified the original recipe… you could try your own variations if you feel adventuresome.

Indian Stew (3)

1     c lentils (any variety)
1/2 c dry millet
6     T olive oil
1     onion, chopped or 1/2 t. dried onion powder
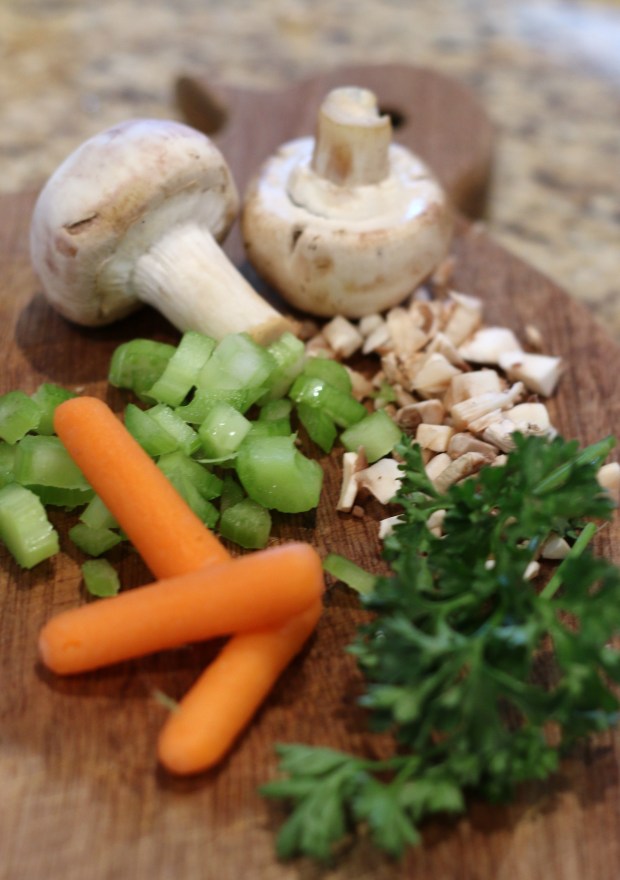
4     celery stalks, chopped
2     large tomatoes, chopped or 1 can chopped tomatoes
4     garlic cloves, minced
10   mushrooms, chopped
7-10 baby carrots, chopped small
5     red potatoes, cubed
1     inch piece of fresh ginger grated or 1 toothpick dipped in ginger essential oil
2     t turmeric
4     t celery seed
3     fresh green chilies, diced
1/2 t black pepper
2     T curry powder
2     T coriander powder
2     t ground cumin
1/2 t cayenne pepper
3     T fresh lime juice
14   c water or vegetable broth
1     large handful fresh parsley, chopped

IMG_0801

Indian Stew (8)
~ In large stock pot heat olive oil on medium
~ Add: onion, carrots, celery, garlic, ginger, cumin and stir fry 3-4 minutes
~ Add chilies, cayenne pepper and stir for 1 minute
~ Add all other ingredients except lime juice and parsley and bring to a boil
~ Reduce heat, cover, and cook 20 minutes
~ Stir in lime juice and simmer, uncovered for 15 minutes
~ Add chopped parsley and serve warm

Indian Stew (5)
TIPS:
~  Follow the recipe as closely as possible the first time and then get creative thereafter.
~  Be sure to infuse the spices in the oil first as directed- it is one of the key ways to build the hearty, roasted flare to this dish.
~  Add 1 cup chopped  raw broccoli and or 1 c frozen or fresh green peas.

CREDITS: Sharon Keller

Murkha Dal (Lentils)


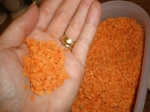
red lentils

If you are not a lentil fan or have little experience cooking with them, you really must try this recipe.  If you already recognize the benefit of lentils- both in nutrition and price, you may find this to become a favorite among lentil dishes as we have.

Legumes (pulses) such as lentils are excellent complex carbohydrates.  They do not turn into all sugar such as simple carbs and have great fiber benefits as well.   In any case, the versatility of Murkha Dal and lentils in general is a bonus to my simple kitchen.

Murkha Dal

This version of lentils is on the thick and hearty side.  Though it is suggested to eat on top of rice, these lentils can be easily eaten with flat breads such as pita or naan.


1/4     cup butter (unsalted)
2          tsp. black mustard seeds
1          onion, chopped well  or 3 green onions snipped into small pieces
2          garlic cloves, minced
1          Tablespoon grated ginger root  or 1 tsp. ground ginger
1          tsp. turmeric
2          green chilies finely chopped (Serrano works well)
1          cup red lentils (sometimes called Masoor)
4         cups water
1 1/4 cup coconut milk (canned, not sweetened)
1         tsp. salt

~  Melt butter in a large sauce pan on moderate heat.
~  Add the mustard seeds; cover pan.
~  When you hear the seeds begin to pop, turn down the heat, and add onion, garlic, and ginger.
~  Cook uncovered about 7 minutes until garlic is brown.
~  Now stir in turmeric, green chilies, stirring frequently until lentils begin to turn translucent (about 2 minutes).

stir

stir in the lentils

~  Add water and coconut milk, and salt.  Stir well and bring to boil.
~  Reduce heat to a simmer, cooking for 40 minutes.
~  Serve hot over rice or eat with flat bread.

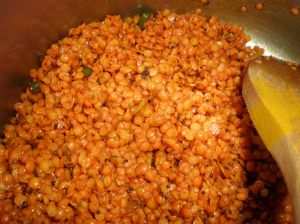
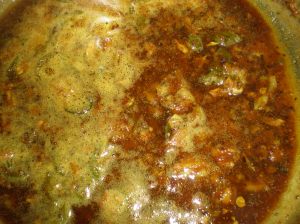
cooking dal

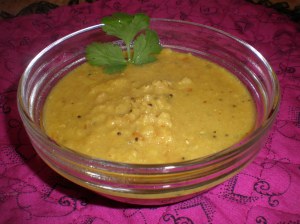
Looks are deceiving this is very flavorful!

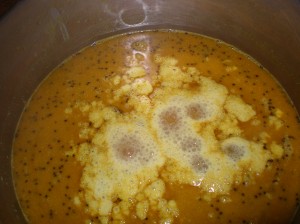
bubbly dal

Coconut milk gives these lentils a hearty flavor

TIPS:
~  Other lentils may be used.  Red lentils cook down and take less time to cook; brown and green lentils tend to stay whole and separate.
~  Don’t leave out the chilies, but be very careful cutting them. Wash your hands immediately very well.  Chilies can be cut ahead and frozen for several months for this recipe.
~  This can be made with only water.  While it will affect the taste without the coconut milk, it is even more nutritious without the milk.
~  There is no nutritional need for meat with this meal, but baked or roasted chicken along with the bread or rice will probably please your meat-eaters in your family.
~  This recipe is suitable for freezing.  Divide any remaining lentils into portions sized appropriately for other meals.  Thaw and reheat.  We like this the second time just as well!

CREDITS:  Cara Hobday; Sharon Keller

Bette’s Vegetables


Bette is a dear woman I barely know, yet she has made an impact on my life.  Bette surrendered her life to serve God in the country of India where she raised many children-  ten, if I recall correctly.  Three of her children were at the same college I attended.  Her youngest daughter was my roommate.  Bette’s daughter was a lovely girl with a huge servant heart, a constant smile, a prayer warrior, and a friend to die for.  Even before I met Bette, she had touched my life.

As the years passed, my husband and I were also led to India and served in the same area as Bette and her husband had served years before.  The hospital they built was still there, and the nationals talked fondly of Bette and her husband.  Our ministry, in part, was blessed because of their faithful service to God in the years before.  Once again, she had touched my life.

I found this recipe of Bette’s in a book of treasures collected by many missionaries.  The real name of this recipe is ‘Sabji Bhaji’  –yes, it is an Indian recipe, but I hope that won’t scare you from trying this very simple fried vegetable meal.  You might just enjoy letting Bette touch your life.

Bette's Vegetables on rice

3      cups single or mixed vegetables
1      teaspoon turmeric
1      teaspoon salt
1/4 teaspoon cayenne chili powder
1/2 teaspoon ground coriander
2      green onions, snipped
3      Tablespoons olive oil
1      dried red chili pepper (optional)
Rice or plain yogurt

~   For the vegetables, cut, chop, cube, shred, or slice thinly. (See Tips below)

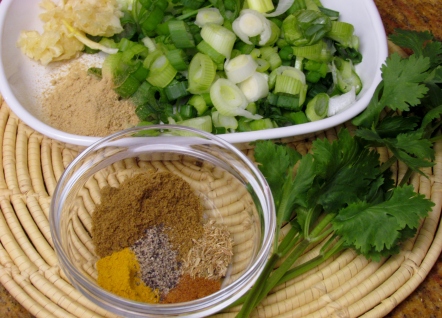
raw veges

~  In a frying pan (or wok) heat oil and saute onion, turmeric, coriander, cayenne, and salt (and red pepper if using).
~  Add all vegetables, stir, and cook on moderate heat for 4 minutes.
~  Cover and cook on low until vegetables are tender but not mushy.
~  Stir occasionally and a tablespoon of water if desired to keep from sticking.
~  Sprinkle a bit of black pepper on top before serving.
~  Serve warm on top of rice with a large spoonful of plain, sour yogurt next to it.  Sounds strange?  Try it.  Bette ate it with just yogurt and a little lemon squeezed on top.  🙂

TIPS:
~  For this recipe I used 2 large carrots, 2 small potatoes and half a head of cauliflower.  Any one or combination of these vegetables  can be used:
cauliflower          cabbage
potato                   egg-plant
gourd                    pumpkin
radishes               spinach
green papaya
~  Bette’s vegetables go well with chicken, but when the budget is thin and you need another dish instead of meat, to grace your table, these savory vegetables will complement nicely.
~  Cooking for just one?  Cut your vegetables to just a cup and trim your spices down accordingly.

CREDITS:  Bette Burrows, photos, Sharon Keller 

Coconut Shrimp Curry


green coconuts at our home

Coconuts are quite plentiful in southern India and their use in cooking is quite common. I especially enjoy the meat of a coconut that has not yet been sweetened.   A young (green) coconut with the very tip expertly whacked off with a large knife reveals the little holes in the top which allows a straw to be inserted to drink the coconut water.  It can also just be tipped and poured out into one’s mouth for a refreshing drink on a hot day.  This delightful curry uses coconut milk (from a mature coconut) which is fairly common in the ethnic section of your grocery store.  The result is a smooth blend of flavors and a dish pleasing to look at as well.  Serve the curry with warm basmati rice and enjoy the taste of India.

4      Tablespoons olive oil
1      onion, chopped or 6 green onions, snipped
2      teaspoons ground ginger
4      garlic cloves, mashed in mortar and pestle
2      teaspoons ground coriander
1/2 teaspoon fennel seed, ground in mortar and pestle
1/2 teaspoon ground turmeric
1/2 teaspoon cayenne pepper
1/2 teaspoon ground black pepper
2      Tablespoons water
7     ounces canned chopped tomatoes
1      cup canned coconut milk
1      teaspoon salt
6-8 boiled eggs
1      lb. cooked shrimp
1      lime, juiced
3      Tablespoons chopped cilantro
Cooked rice

~  Boil eggs, cool, and peel
~  Boil shrimp according to directions (about 3-4 minutes); make sure they are peeled and deveined.
~  Heat oil in medium or large saucepan on medium-high
~ Cook onions until softened but not browned.
~  Add ginger and garlic in the oil; cook for 3 minutes and stir well.
~  Combine fennel, coriander, cayenne, turmeric, black pepper with water in a small bowl to make a paste.
~  Reduce heat to medium and add spice paste to garlic/onion mixture.
~  Cook for 1 minute; reduce heat to low and cook for 3 more minutes.
~  Add tomatoes and cook for 6 minutes; Break up large chunks with a spoon or spatula.
~  Add coconut milk and salt and bring to a slow simmer.  Stir often while cooking for 7 minutes.
~  Now slit each boiled egg three times lengthwise; cut deep, but be careful not to go all the way through. You want the egg to remain intact.
~  Add the eggs and shrimp to the saucepan and cook on medium for 6-7 more minutes, making sure the eggs get covered with the curry.
~  Now stir in the lime juice and snipped cilantro.
~  Serve warm over basmati rice.
TIPS:
~   This recipe serves 5-6 people.  By adding a whole can of tomatoes and two eggs per person eating, it can be stretched to feed more.
~   Leftover coconut milk can be frozen for several months in a glass or plastic air-tight container.
~   Be sure to cut up, peel, and grind all ingredients before beginning to cook; there is no time to stop and do this between steps.

CREDITS:  Mridula Balejekar; photos, Sharon Keller

Tropical Chop Chicken


We have come to love  this easy-to-make “local” dish that really is a variation from several of the Islands south of us.  Whether we hear the familiar chopping of the chicken on the butcher block in local restaurants or as we pass the doors of other residences, it conjures up the smells and taste of Topical Chop Chicken.

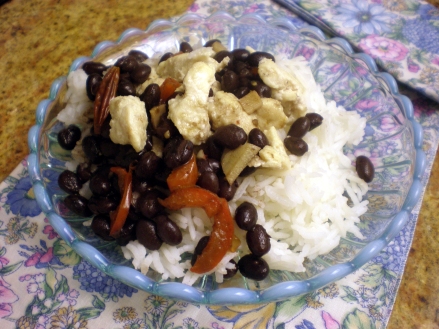
Tropical Chop Chicken

Tropical Chop Chicken

The black beans give it a punch of hearty protein tasting better than just a plain scoop of beans on your plate.  You can grill, roast, or pan-fry the chicken– and that’s the hardest part to this tasty recipe.

Serve Tropical Chop with some fresh fruit or plantains and a crusty roll of Cuban bread.  (French bread will do if you can’t get Cuban.)

For every 2-3 adults eating you will need:
1     cup uncooked rice
1     chicken breast
1     can black beans (cooking them from scratch is good too!)
1/4 green or red pepper, chopped into small pieces
1     pinch cayenne pepper
1     garlic clove, chopped
10  grape tomatoes, halved or 1 cup chopped tomato
salt to taste
olive oil
salsa (optional)

~  Cook the chicken in the method of your preference-  grilled, roasted, or pan-fried in a tiny amount of olive oil. Chop it into bite sized pieces and set aside.

chopped chicken

~  Cook the rice according to the package.
~  In a sauce pan cook tomatoes, chopped garlic and pepper in 1 teaspoon olive oil on medium-high, four to five minutes or until garlic is golden but not brown.

simmering tomatoes

~  Add beans, including liquid.
~  Throw in cayenne pepper and a bit of salt and stir well.

stir beans occasionally

~  When the rice is finished, place in a bowl and set on the table with the beans and chicken in separate bowls.  Each person can arrange their stack of Tropical Chop to their liking.  Rice goes down first, then the beans, then the chicken.
~  Top with a tablespoon of salsa if you like… my husband likes!

CREDITS:  Sharon Keller

Skinny Rounds


Without a grill in our household, cooking steaks have seemed a little scary to me; who wants to ruin an expensive cut of meat on any budget?  Recently I noticed eye of round steaks in the store that were less money than nearly every other type of meat that day.  They fit our skinny budget so I decided it’s time to be brave.
God was merciful, and we enjoyed them greatly.

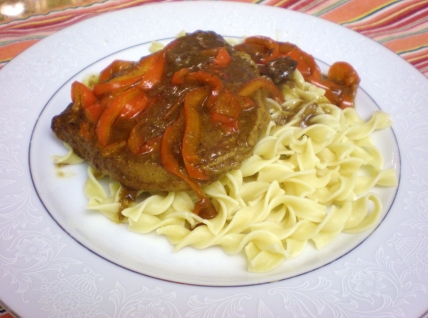
Eye of Round on egg noodles

1     Tablespoon olive oil
1     Red bell pepper sliced thinly
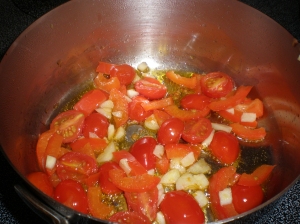
~  cook these two ingredients on medium-high for 5 minutes; set aside
2     Eye of round beef steaks
1/8 Teaspoon thyme
1/4 Teaspoon salt
1      Tablespoon flour
Pinch of paprika
1/3 Cup water
1/3 Cup Worcestershire sauce
1/4 Teaspoon parsley

~  In a plastic bag, season steaks with thyme, paprika, flour, and parsley by shaking and covering steaks with flour mixture.
~  Fry steaks on medium for 5 minutes each side.
~  Pour in liquids.
~  Add cooked red pepper/oil mix; simmer on very low for 1 hour. (Cover at least partially)
~  When steaks are nearly done, make a roux gravy in the same pan with a small amount of flour and salt.  If needed, you can add a small amount of oil.  I added a handful of chopped fresh mushrooms to the gravy.
~  Serve warm steaks and gravy over cooked egg noodles.
~  Serves 2.

CREDITS:  Sharon Keller

Chicken Empanadas


These empanadas were an instant favorite with my husband and our CBF family. Though considered an appetizer, the kids were more than willing to eat them as a main course. I have made them more than once and I get similar applause from all that eat them, including one girl who couldn‘t believe I had made them myself. 🙂

baked empanadas

In addition, because they are baked instead of deep-fried, they don’t have all the fat and calories that are traditionally associated with empanadas. You can further reduce salt or calories by the choices of skins in which you wrap the delicious fillings. I have included two options, but get creative and improve on my own ingredients and methods.

WRAPS

Option one:
~ If you are making a mountain of empanadas or you are a bit short on time, consider using pre-made empanada skins found in the freezer section of your grocery store.
~ Thaw according to directions and cut in half with kitchen shears or a knife and you are ready to fill them!

Option two:
~ Make your own pastry skins with this simple recipe for Indian flatbread.

2 cups flour (freshly ground wheat flour, all-purpose, etc)
4 Tablespoons vegetable or olive oil
½ teaspoon salt
5 Tablespoons warm water

~ Mix flour salt and oil and 3 Tablespoons of water, adding remaining water a little at a time; knead until soft
~ Form into a ball. Place in small bowl and cover with plastic wrap and set aside for 30 minutes. (Longer will not ruin the dough)
~ Divide the dough into 9-10 balls (This will give you 18-20 empanada skins)
~ Roll each ball a little between your palms and flatten. Now roll each flattened disk into a larger circle about 4 inches across. Pastry will be quite thin.
~ Cut each disk in half with kitchen shears or a knife, ready for stuffing.

EMPANADA  FILLING
2-3   roasted chicken breasts
1       red bell pepper
2       green onions (or one small white onion)
1       serano chili or  jalapeno pepper
1      clove fresh garlic
2      Tablespoons cumin
½    teaspoon salt
½    teaspoon crushed red pepper flakes
1/8 teaspoon cayenne pepper
8 oz. Cheddar or Mexican blend cheese, shredded

roasted chicken breast
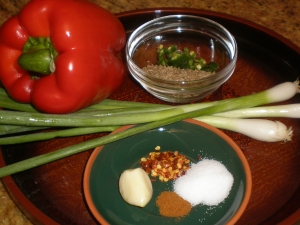
fresh spices and peppers

~ Cut boneless chicken breasts in half length-wise and place in a bowl.
~ Toss with a Tablespoon or two of olive oil, salt, and freshly ground black pepper.
~ Bake at 400 for 15 minutes in a foil lined dish. (Whole breasts or with bone will take longer; cooking in my Oster Oven only requires 375 degrees at 15 minutes.)
~ Let cool for a few minutes before chopping.

~ In food processor chop chicken and place in large bowl.
~ Place garlic clove in processor and chop finely.
~ Add bell pepper, chop, then add these to the large bowl.
~ Place onions, cumin, salt, and red pepper flakes in processor and chop until onions are quite small.
~ Add these to the large bowl and mix very well, along with Mexican-blend cheese.

filling on empanada wraps

~ On each half-circle of wrap place about 2 teaspoons of filling. The actual amount will depend how large your empanada skins are.
~ Take one corner and bring it over your filling mid-way on the curved edge of the wrap; matching both curved edges. You will still have one half of your empanada exposed. Take the other corner and bring it over to the same curved edge, making a triangle. Wetting your finger in a small bowl over water before sealing each fold will make sure your empanada stays closed while baking.

fold one corner to curved edge

fold second corner to make a triangle

~ You can seal them plainly with your fingers, with a fork, or fluting the edges with your finger as on the edges of a pie crust depending how much time you have or if you are creating a masterpiece!

fluted edge for added beauty

~ Place all empanadas on a baking sheet (sprayed lightly with oil is helpful but not necessary) and bake for 15 minutes at 400. Skins will be slightly golden.

ready for the oven!

~ Serve warm with dipping sauces of your choice. We favor salsa, sour cream, or ranch dressing. Be creative!

CREDITS:  Sharon Keller, adapted from Sarah G.;  pastry wraps – ‘The Little Book of Indian Recipes’ p. 10